
Full details and pictures after the jump!
Now, I already have a Doombull, but I have the old metal one. It's the same sculpt, but, for those of you not familiar with the wonders of Citadel Finecast, the metal one is a LOT heavier, the Finecast one has sharper detail and... well, due to the difficulty I had of building the metal brick one, it doesn't rank up properly in my Minotaur unit.
That is to say, I had a lot of fun building it, and it was a real labour at that, but because it was taking such an effort to build, I forgot to see if it properly fitted into the unit he would join in battle. Needless to say, it didn't fit properly, and pushed the champion to his left, further left. That's a big axe...
ANYWAYS
So, a sharper detail, lighter version of the model comes out and gives me the perfect opportunity to rectify this mistake. I'm still fond of my metal Doombull, especially the paint job, but with the new paints and my painting skills having improved since last February, I'm even really looking forward to that.
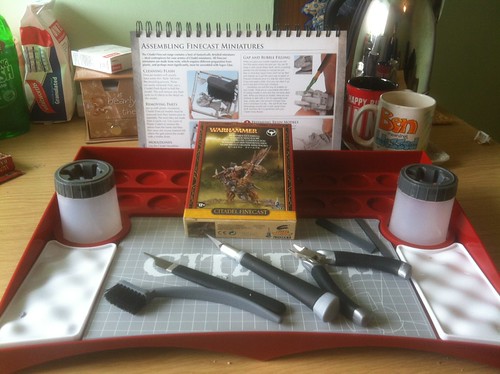
From left to right, the tools are (and I'm ignoring the pallets and water pots as they're irrelevant):
- Flash Brush, for removing any flash and webbing from the resin parts.
- Mould Line Remover, for scraping down any unsightly mould lines - an unavoidable part of the moulding process.
- Hobby Knife, with a brand new blade, so very sharp. Used for trimming away excess resin.
- Side-Cutters, or Clippers, for removing the resin from its mould frames ('sprue').
- Emery Boards, Fine and Coarse, for filing down any scars (on the model, not me!)
- Cutting Matt, this can take the damage, not my fingers!
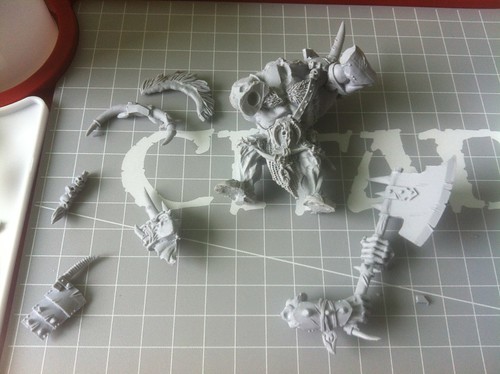
So, having removed all the frames from the box and having given them a good brushing down to remove excess flash and webbing from the model, I take the clippers, and cut each piece from the frames, making sure not to cut too close to the model as this can leave scars. For things like the bottoms of the feet, I don't worry too much as scars won't be visible.

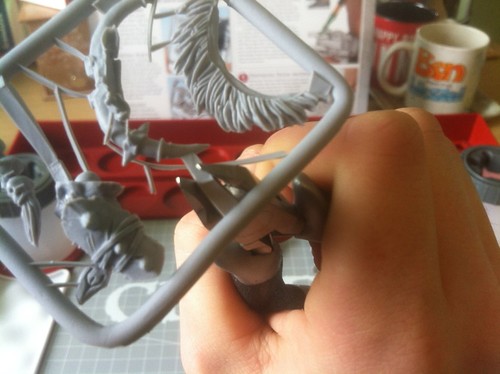
Now, I use the Hobby Knife to cut away any excess bits of resin from the pieces. Obviously, I'm more careful with the knife than this picture would suggest. I always cut away from myself, and hold the model firmly, keeping fingers well away from the blade.

All the pieces cut out and ready for gluing!
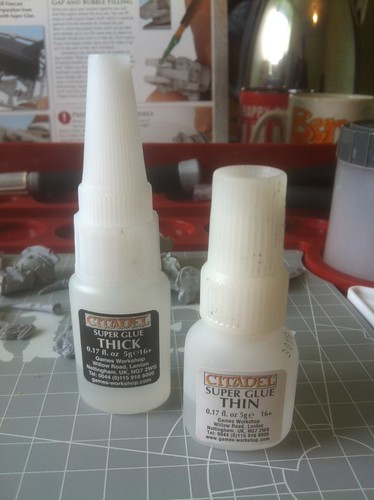
I know it seems really silly, and probably quite pathetic, but I got really really excited last month when Games Workshop released two new glues (Plastic Glue Thin, and Superglue Thick). The Citadel Super Glue Thin has always been my favourite superglue as it's got the brush in the lid for ease of application and has always dried really quickly, strongly and with minimal of that unsightly cyanoacrylate 'misting' that often happens with cheaper glues like Loctite. However, my stomach did a backflip when I saw Super Glue Thick announced. It's like a gel. It takes about the same time to dry but is perfect for bigger kits and can even be used for filling in minor gaps!
Yes, I am getting exited about Super Glue...

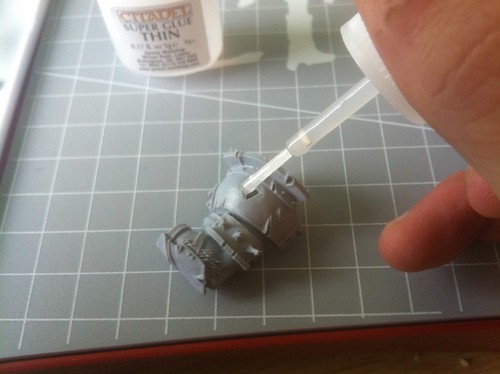
After putting a couple of pieces together without glue as a 'test-fit', also called a 'dry fit', I apply the Super Glue Thick over the contact points (where the pieces of the model touch), then hold it together and count to seven. This is usually long enough but for really big pieces, I often count to ten to be sure.
Above you can see the Super Glue Thick in action. Below, I've added a photo of the Super Glue Thin, notice the brush applicator.
Yes, again, I am waxing lyrical about glue...
Here you can see several of the sub-assemblies coming together, notably, the axe and bracing arms, and the main body. Once these are well dried I'll start putting it all together.
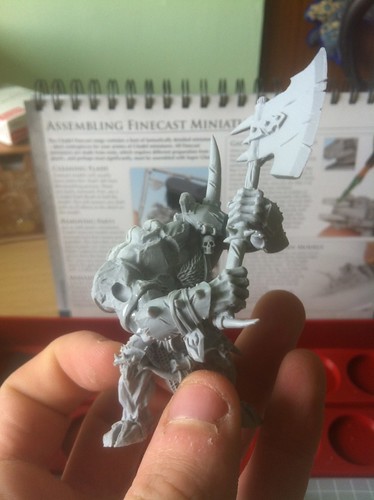
Here's the axe, arms and body all together...
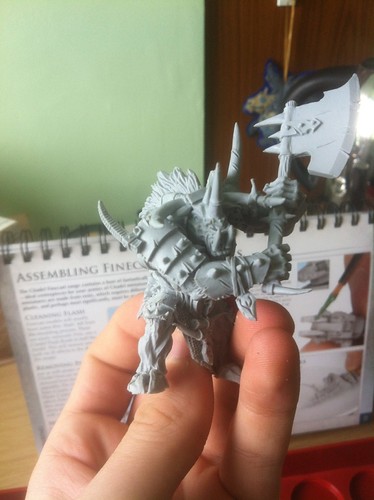
And now the head, horns, hair and right pauldron (shoulder armour).
That's the main body of the Doombull built. He's all together, all the details have been added and the glue is now dry. So, what next? The base!
Some of Games Workshop's miniatures have little pegs on their feet, and it's something I see misunderstood a lot. Some people cut these pegs off, thinking they're excess plastic/resin/metal. Sometimes I've even seen the model glued down with the peg still attached creating an unstable model that looks like one foot is floating.
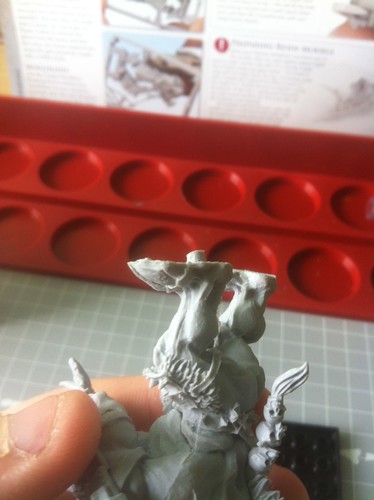
Here's the peg on the Doombull's foot. Sometimes both feet have such pegs, sometimes (as is the case here) only one of them does.
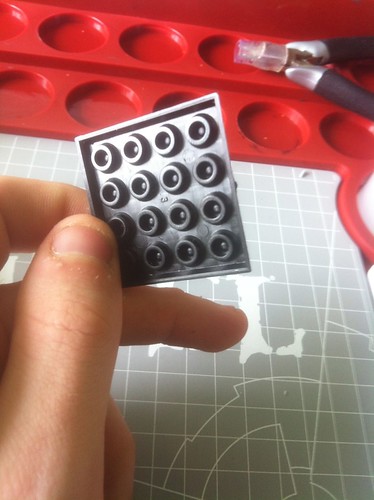
It all becomes apparent when you examine the underside of the bases we supply and see these strange circular holes. Well, these are for the pegs. Wait, read ahead first! Again, I've seen some crazy people who flip the base upside down and glue the pegged feet straight onto the bottom of the base. Whilst a strong connection, due to the peg, it means your base looks terrible.

Right, so firstly, we dry-fit the model onto the base so we can see which hole the peg should aim to fall into (it's also worth noting that, at this point, I pulled the champion out of the unit and put him next to the Doombull to make sure that the models would 'rank up' properly - I wasn't about to make the same mistake twice!). Make sure you remember which hole it is, then invert it. Remember, the base is currently upside down. Thus, in this case, the peg is the hole one up from the bottom left. This will actually need to be the hole shown one up on the bottom right as these swap places when we swing the base the right way up. Sounds confusing, you'll see when you try it.

Having identified the correct hole, open the clippers and very carefully, keeping your fingers WELL AWAY from the hole being bored, push one of the cutting tips through the base with a twisting motion. Clip off the little 'fold' of plastic that comes free.
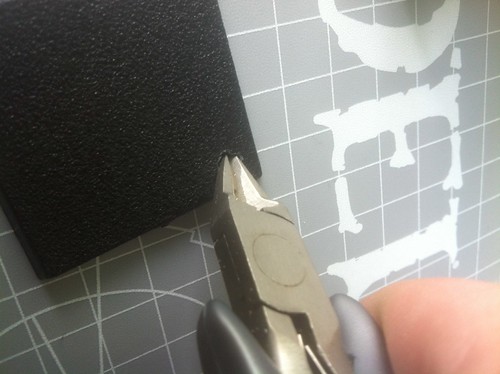
With the clippers closed, poke them firmly in the hole and twist. This will widen it. Make sure the hole is just wide enough to fit the peg into. You don't want it too loose.
It was at this point, taking the photos that I realised I'd bored the wrong damn hole into the base... Read up, I said we needed the one "one up from the bottom right". I'd bored the one directly in the bottom right of the base... Now, this isn't too much of a problem, as additional holes can be often be hidden when the model is placed on the base anyway, and any visible holes can be covered with basing material or Green Stuff (or a similar modelling putty).
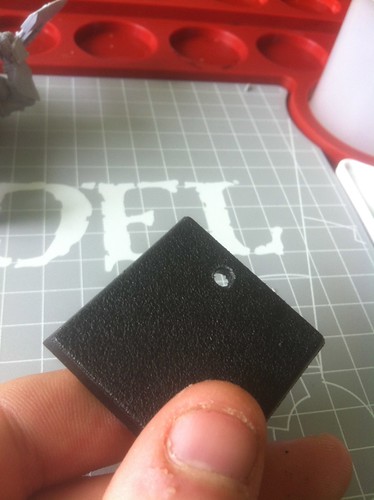
So here's the base with the correct hole drilled *hem*.
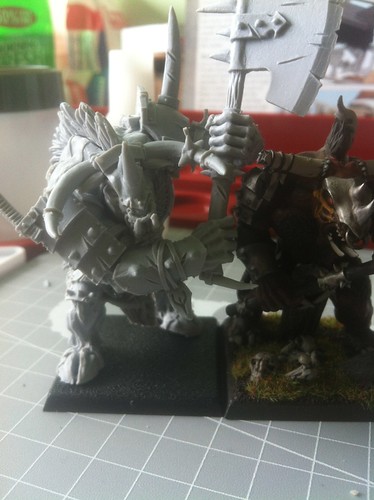
Finally, using the Citadel Super Glue Thick on the bottoms of the feet, I stuck the Doombull to the base, again, making sure that he 'ranks up' correctly with the Minotaur Bloodkine (pictured right). As the bases touch, you can see the fit is perfect!
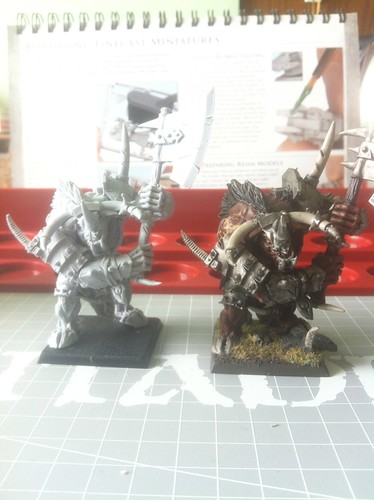
Here's a picture of the old model and new Citadel Finecast versions side-by-side. Notice the metal one (right) has his axe slightly lower and is twisted counter-clockwise a little on his base. These minor differences in the build of the model make the difference between the Doombull standing in the unit of Minotaurs and him pushing the Bloodkine out of formation!
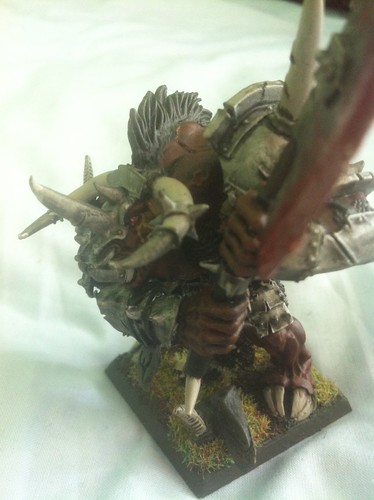
Thanks for reading, I'm going to finish off with a couple of pictures of the painted original metal Doombull. I daresay I'll put up a step-by-step of me painting the new guy soon too!

No comments:
Post a Comment